To begin using Capium 365, it’s essential to correctly configure user access and complete their contact details. Below are the steps to follow for a smooth setup process.
Step 1: Define User Type
Choose the appropriate user type:
Accountants will have access to Capium 365 by default.
Staff Members will require access to be explicitly granted after they are created.
Step 2: Add or Assign Contact Information
If an existing contact already exists for the accountant or staff member, simply link it during setup.
If no contact exists, create one by filling in the required fields: First Name, Middle Name (optional), Last Name, and Email Address.
Step 3: Configure Login Details
Set and confirm a Password for the new user.
Enter a Phone Number, which will be used for two-factor authentication (2FA) to enhance security.
Step 4: Input Address Information
Complete the Address Details to finalise the user profile.
Step 5: Save and Close

Step 6: Assign Module Access
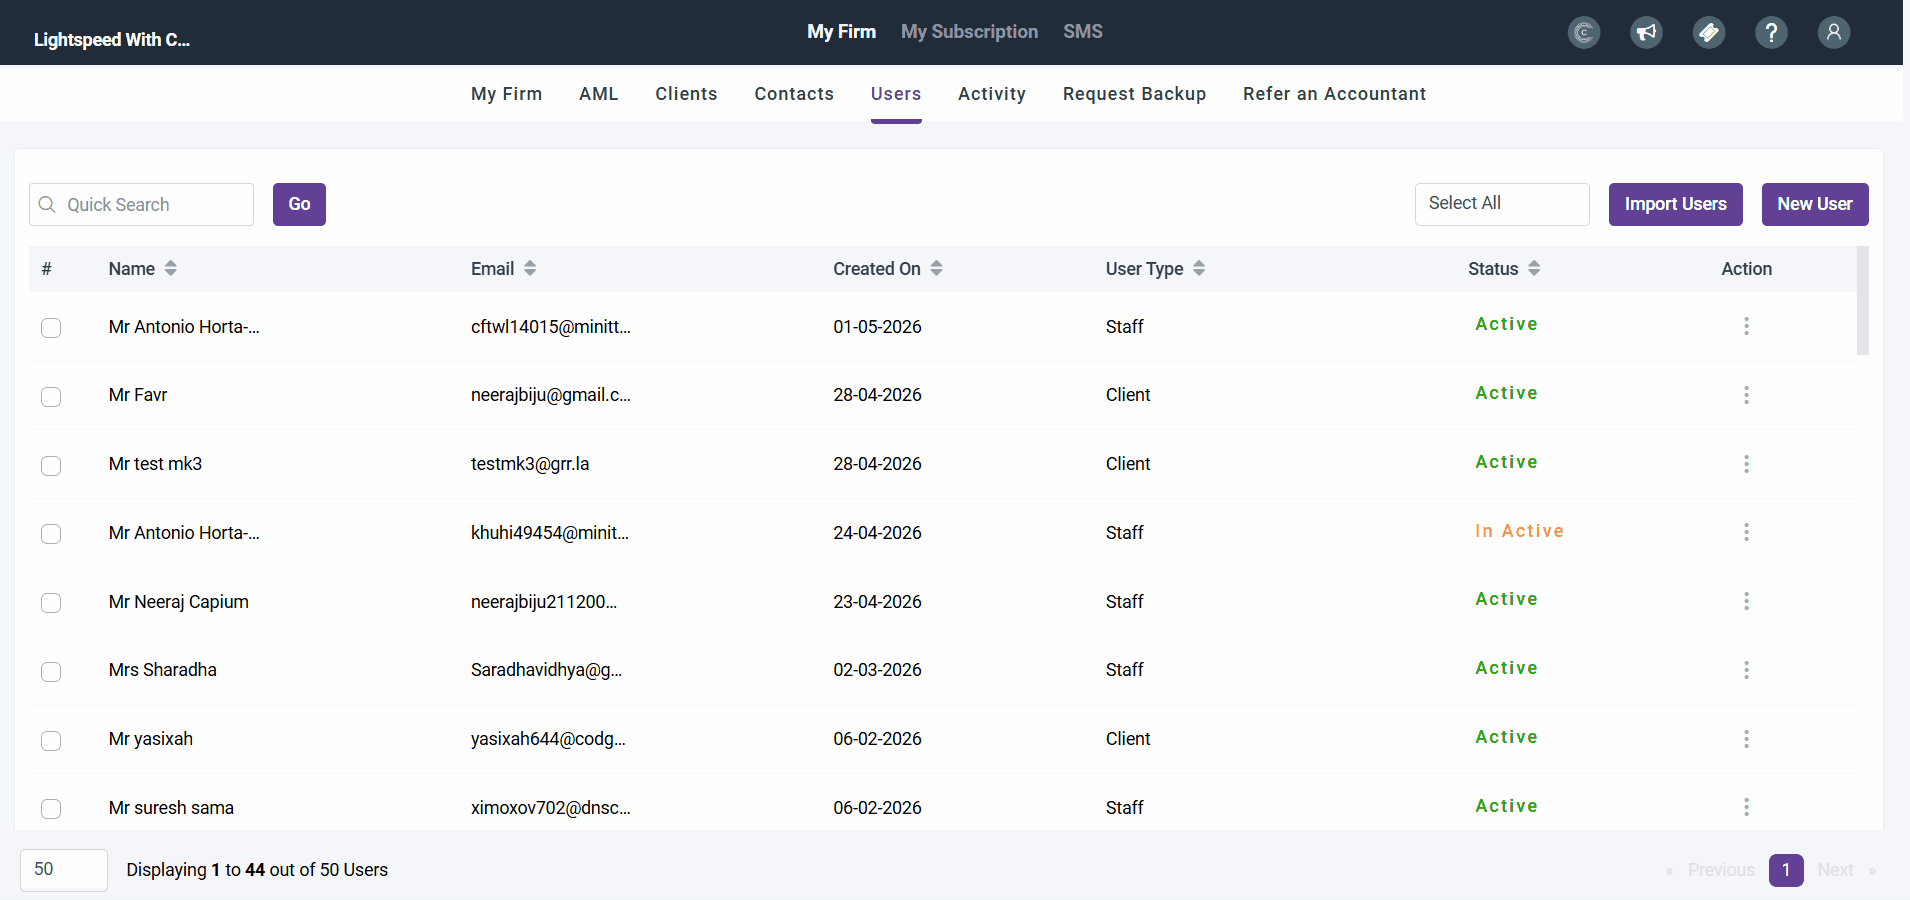
- Click the three dots next to the user and assign the clients they should have access to. Then navigate to Modules and select the checkbox next to Capium 365.
Step 7: User Login
- Ask the user to log in using their credentials and navigate to the MTDIT module. This will trigger an automatic synchronization between MTDIT and the main platform, and the user will then appear in the Users section within MTDIT.
IMPORTANT NOTE:
For users to appear in Capium 365, they must first log in and open the Capium 365 app. This triggers an automatic sync between Capium 365 and the main platform.
Click here to learn more about Manage Permissions for all users or specific user